With YouTube’s vast audience of over 2 billion active users monthly, the platform is a bustling space ripe for creators to share and circulate their works. To truly shine amidst the vast sea of content, it’s crucial that your videos are skillfully edited to present a crisp, engaging final product.
Mastering the art of trimming and creating YouTube clips stands out as an essential skill for refining your content. By slicing away unnecessary segments and forging smooth transitions, you can craft a compelling narrative for your YouTube videos. Wondering where to begin with editing, trimming, and clipping your YouTube content?
How to turn off autoplay on YouTube in 1 Tap
How To Clip a YouTube Video Online on Mobile
#1 Using Clip Function
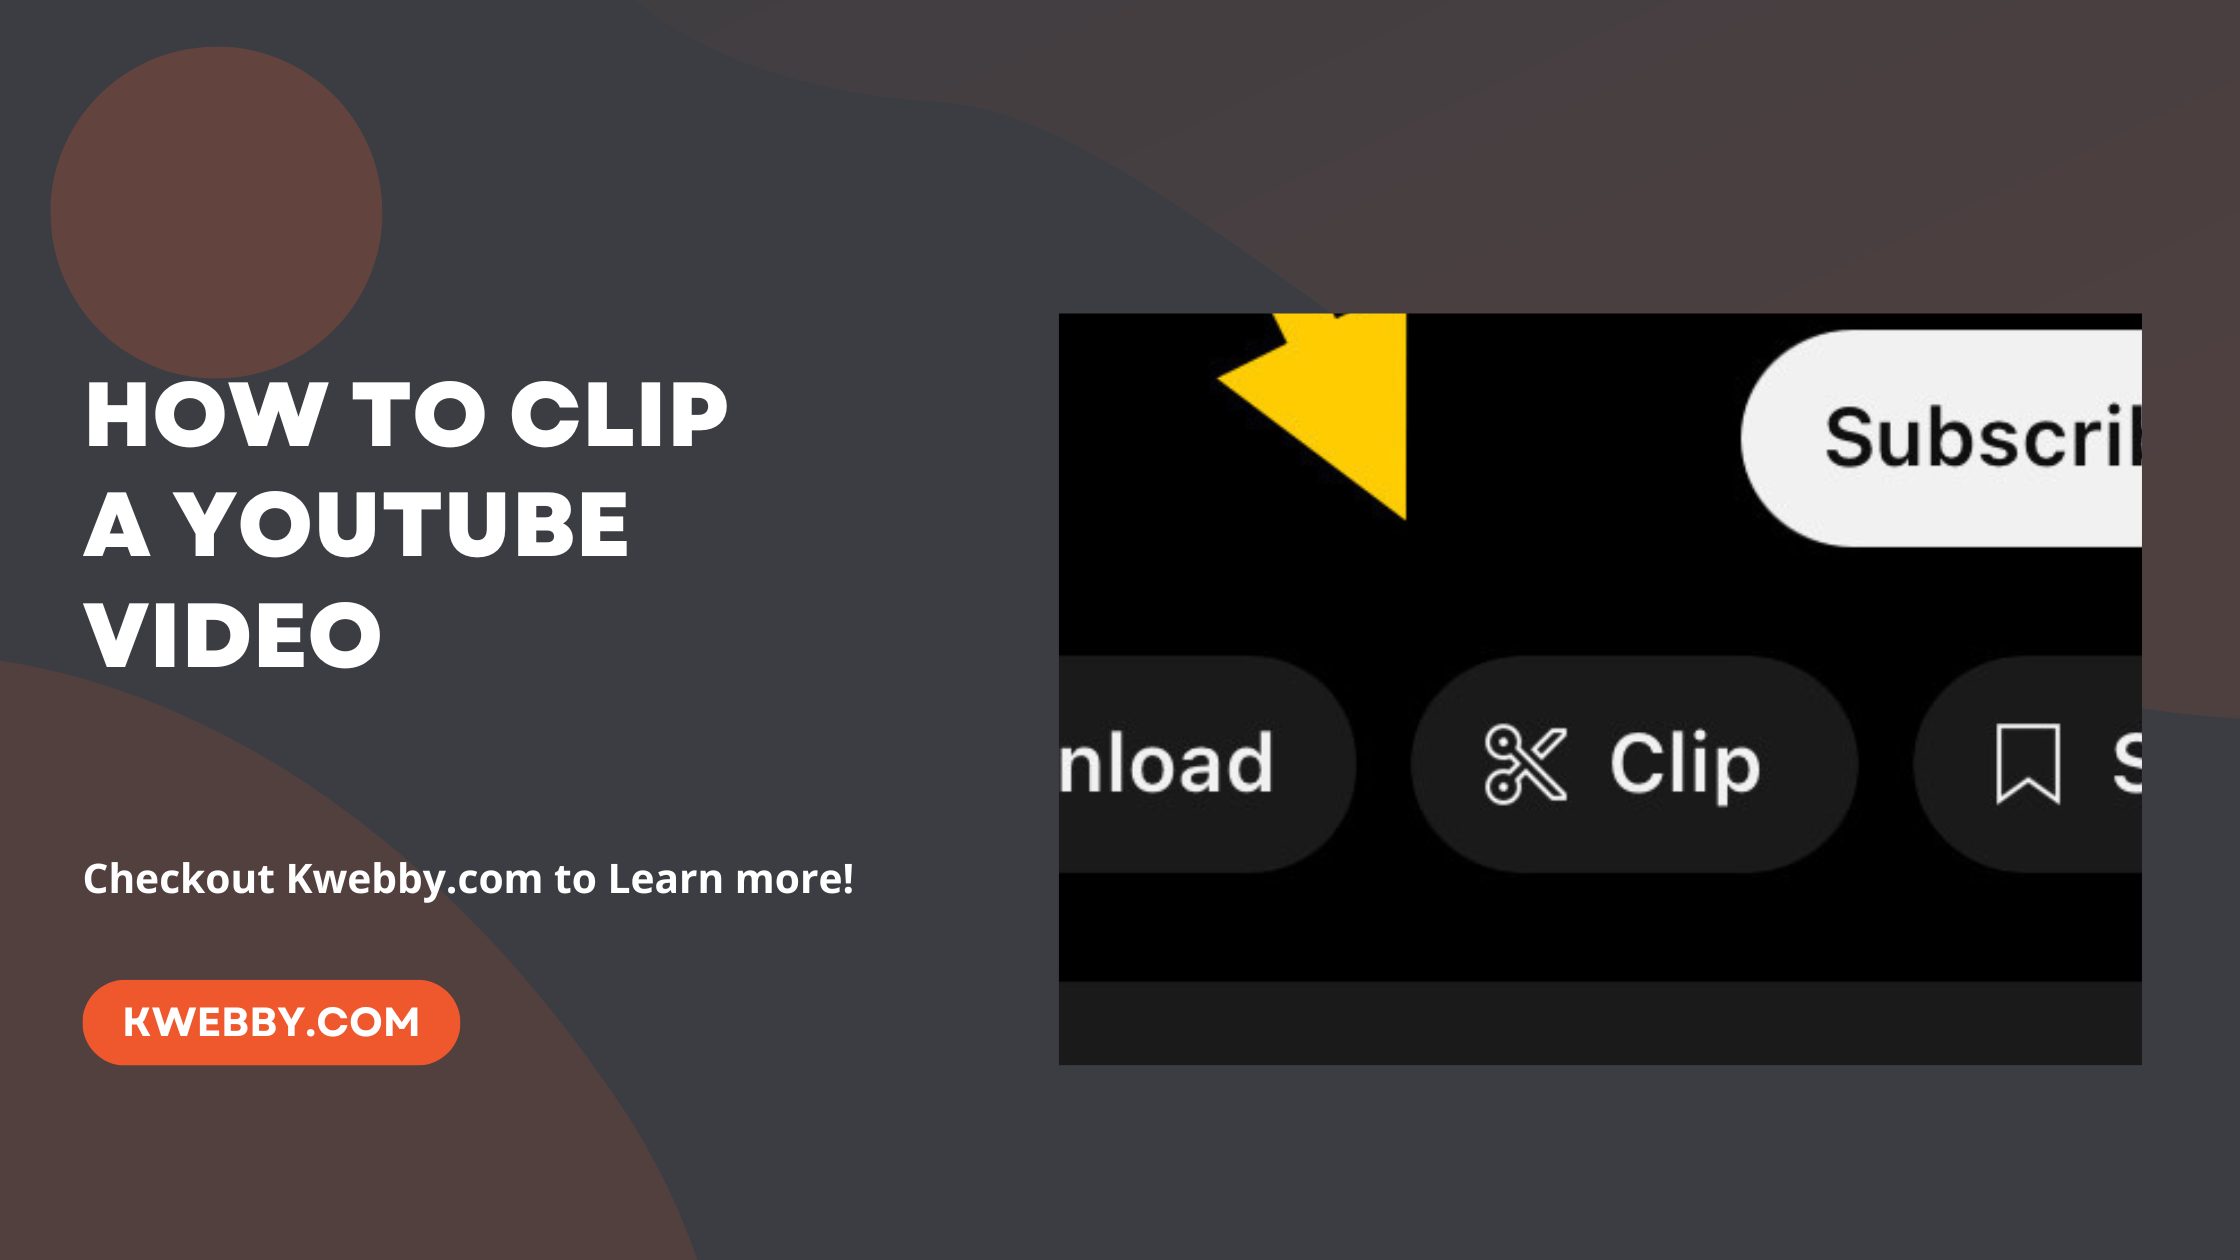
You can use the Clip function directly from the Mobile app itself; follow the step-by-step instructions as below;
Step 1. Select Clip Functionality

In the first step, select your desired video and tap on the “Clip” button;
Step 2. Enter Clip title

In the next step, enter the clip title for your desired clip;
Step 3. Select Clip Range
Now, use both hands to select the clip range; you can clip up to 1 minute or 59 seconds to clip clips from the video;

Tap on Share clips, and it will be shared.

#2 Using External Tools
Kapwing, an online free YouTube video editor, presents an effortless route for anyone looking to clip YouTube videos, tailor video dimensions, enhance green screen footage, embed subtitles, append text to images, and crop video frames for an optimized viewing experience.
First and foremost, upload your pre-recorded YouTube video into Kapwing. If you’ve already published your content on YouTube, copy the URL, paste it in the designated area on Kapwing’s home screen and click “Get Started.” No matter which route you choose, rest assured that Kapwing will not publish anything to your social media accounts without your permission.
After uploading or pasting the URL of your video, simply drag the clip markers on either end of the blue timeline bar to select the desired portion of your video. You can also manually input start and end times for more precise clipping. Once satisfied with your selection, click “Done.”
Kapwing also offers a range of editing tools such as filters, text overlays, and transitions
Here’s a streamlined guide on how to trim a YouTube video that you don’t own, utilizing Kapwing’s versatile tools:
Step 1. Navigate to Kapwing
Initiate your editing project by visiting the Kapwing website and selecting the ‘Start editing’ option. This action propels you into Kapwing’s comprehensive editing suite, ready for your creative input.
Step 2. Insert Video URL
Secure a royalty-free video that aligns with your project’s goals and copy its URL. Subsequently, paste this link in the designated box on Kapwing’s platform to import the video directly into the editor.
Step 3. Commence Trimming
With the video now imported, proceed to the editing phase by locating the ‘Trim’ option in the right panel. Utilize the intuitive sliders to define the start and end points of your clip, carving out the precise segment you wish to highlight.
Step 4. Export Your Creation
Once satisfied with the trimmed portion, initiate the ‘Export Video’ function. Kapwing then processes your edit, rendering the video in a shareable format.
Step 5. Download and Share
After the export concludes, you have the option to download the edited clip to your computer for personal use or further distribution. For those seeking a pristine, watermark-free video, Kapwing offers a simple solution—sign in using your Google or Facebook account to remove any branding.
This method not only empowers users to create and share compelling YouTube clips but also enriches content dissemination across digital platforms. Whether you’re aiming to distill a segment from long-form YouTube videos, create engaging content for social media, or curate highlights from live streams, Kapwing stands as a pivotal resource in the realm of video editing.
How to clip a Youtube video on Desktop/Laptop
Clipping a short segment from a YouTube video or live stream allows you to easily share these moments on various social platforms or through direct messages, including email or SMS. These clips are accessible to the public, meaning anyone with the link can view the clip and also have the capability to watch the full source video.
YouTube provides a centralized location for users to find their own created clips or view clips made from their videos in the ‘Your clips’ section within the YouTube app. For content creators, managing clips derived from their videos is made straightforward through YouTube Studio. It’s important to note that the ability to clip videos is enabled by default on the platform.
In the process of creating and sharing clips, utilizing the YouTube app or website, content creators and viewers alike can engage more interactively with live streams and published videos. This feature not only enhances viewer engagement but also amplifies the reach of the content across social channels like Twitter and Facebook.
By embedding or sharing the link, creators can drive more visibility to their live videos and uploaded content. Managing and sharing these snippets from the original video through YouTube Studio is an integral aspect of the content creation cycle, offering creators a powerful tool to highlight key moments, interact with their audience, and extend their content’s lifespan.
Step 1: Sign in to Your YouTube Account

First things first, you’ll need to be logged into your YouTube account. This is a straightforward step but essential for accessing the clipping functionality. Make sure you’re signing into the account associated with the channel where you wish to create clips.
Step 2: Find the Video You Want to Clip
Navigate through YouTube to find the video or live stream you’re interested in clipping. This can be from your own videos, an opted-in channel you subscribe to, or any public YouTube content that allows clipping.
Step 3: Access the Clip Function

Once you’ve identified the video, look for the ‘Menu’ button, represented by three dots, usually found below the video player. Click on it and select ‘Clip’. This action opens the clipping interface.
Step 4: Add Title to Your Clip

Now, it’s time to get creative. Add a title to your clip, ensuring it’s catchy yet informative, and within the 140-character limit. This title should hint at what viewers can expect from your clip, making it an important step for engaging potential viewers.
Step 5: Select Your Clip Section

With the clipping tool open, select the portion of the video you wish to clip. You can choose anything from 5 to 60 seconds of the video to create your clip. Adjust the selection by dragging the slider to your desired start and end points. Remember, the aim is to capture a moment that represents the essence of the original video or highlights a key point.
Step 6: Share Your Clip

After finalizing the segment, click on ‘SHARE CLIP’. You’ll be presented with several options for sharing your newly created clip. You can embed it on your website or blog, share it directly to social networks like Facebook and Twitter, copy the link for use elsewhere, or use email to share your clip directly.
Step 7: Managing Your Clips
To view or manage clips you’ve created, simply go to the ‘Your clips’ section in the left menu within the YouTube app or website. Here, you’ll find all the clips you’ve made, allowing for easy access and sharing.
Note: Always ensure that the content you clip and share respects YouTube’s copyright rules and the original content creator’s preferences. Creating and sharing clips from YouTube videos is a powerful way to engage with content, attract viewers to both live and uploaded videos, and create manageable, shareable moments from longer streams or videos.
How to clip YouTube videos natively in YouTube studio
Trimming your YouTube videos directly within YouTube Studio simplifies the editing process, making it more accessible for creators to fine-tune their content before publishing. This functionality is crucial for removing unwanted sections from your videos, ensuring a tighter, more focused viewer experience.
Here’s how to leverage YouTube Studio for video trimming:
Step 1: Fine-tune Your Edits

After trimming or removing sections of your video, you might want to review and adjust your edits for precision. Hover over the edges of the blue or red box in the video navigation bar to fine-tune the start and end points of your video. Small adjustments can be made by dragging the slider slightly to achieve the perfect cut. This step is particularly useful for aligning video cuts with specific dialogue or action moments.
Step 2: Preview and Save Your Edits

Before finalizing your edits, use the ‘Preview’ option to watch the modified sections of your video. This ensures that your trims and cuts flow smoothly and that the overall pacing of your video remains engaging. Once satisfied with the adjustments, click ‘Save’ to apply the changes. Remember that saving your edits will overwrite the original video, so ensure you’re happy with the final product before saving.
Step 3: Publish or Republish Your Video
After saving your edits, your video is ready to be shared with your audience. If it’s a new video, you can proceed to set a title, description, and thumbnail before publishing.
For previously uploaded videos, your changes will be applied directly, and the video will maintain its existing metadata and view count.
It’s a good practice to review your video one final time in the YouTube app or on the website to ensure the edits meet your expectations and to gauge viewer reaction.
By following these steps, content creators can effectively manage the length and content of their YouTube videos, creating a more polished and viewer-friendly final product. This not only enhances the quality of your videos but also aligns with best practices for audience engagement and content management on digital platforms.
More Youtube Resources
- How to Label AI Video on YouTube in 2 steps
- How to download YouTube videos without any software (4 Options)
- vidIQ Review 2024: How I Got 100k+ Views Using it?
- How to loop Youtube videos & playlists (Simple Trick)
- How to Make a YouTube Banner on Canva
- Youtube Analytics – 18 Metrics that matters the most
- How to Fix”You’re Offline” on YouTube (8 Easy Methods)
- Video SEO in 2024 – The Ultimate Guide to Rank Your Videos
- How to Make CC Smaller on YouTube in a Few Clicks
- How to Upload Shorts on YouTube from PC (Step-by-step)
- How to Disable YouTube Shorts (100% Working)
Conclusion
In the evolving landscape of digital content creation, learning how to clip a YouTube video represents an essential skill for creators and viewers alike.
This comprehensive guide has walked you through every step of the process, from the simple act of creating clips online for free to leveraging YouTube Studio for more detailed video editing.
Whether you’re aiming to highlight key moments in live streams, share clips of your own videos, or engage with content from opted-in channels, the power of clip creation enhances the way we experience and interact with YouTube content.
The ability to create, share, and manage clips offers a unique way to extend the lifespan of both live and uploaded videos, making memorable moments more accessible and shareable across multiple platforms like Facebook and Twitter.
This not only boosts audience engagement but also increases visibility for creators, making it a valuable strategy in any content creator’s toolkit.
Remember, whether you’re clipping a small portion of a live stream, editing the length of your own video in YouTube Studio, or sharing a segment of a published video, respecting copyright rules and the original content creator’s preferences is paramount.
By following these simple steps, you can transform your content approach, tailoring your videos to meet the needs of today’s fast-paced digital environment. Engage your audience, optimize your content, and explore the endless possibilities that YouTube clip creation and video editing offer.
Test your knowledge
Take a quick 5-question quiz based on this page.


