How to make a Photo Collage on iPhone (2 Methods)
Choose Your Language:
Tired of the same old snapshots? Unlock the creative potential of your photo collection with the art of collage-making. This simple yet powerful technique can transform ordinary photos into captivating visual narratives. And the good news? You can easily create a photo collage on your iPhone in just a few minutes.
In the following guide, we’ll explore the steps to craft your very own photo collage using the Shortcuts app on your iPhone, along with sharing innovative ideas and tips to elevate your collage-making skills.
Continue reading to discover how you can turn your iPhone photos into stunning collages that stand out.
How to View Clipboard History (Android, iOS, Windows & Mac)
1 How to Make a Collage Using an iPhone Shortcut
The iOS Shortcuts app unlocks a world of automation possibilities for iPhone users, making it simpler than ever to execute daily tasks with ease. Photo Grid shortcut, a built-in tool designed to streamline the collage-making process.
Here’s how to bring your photo collage to life directly on your iPhone:
If the Shortcuts app isn’t already installed, head to the App Store, search for it, and download. This is your gateway to creating stunning photo collages with minimal fuss.
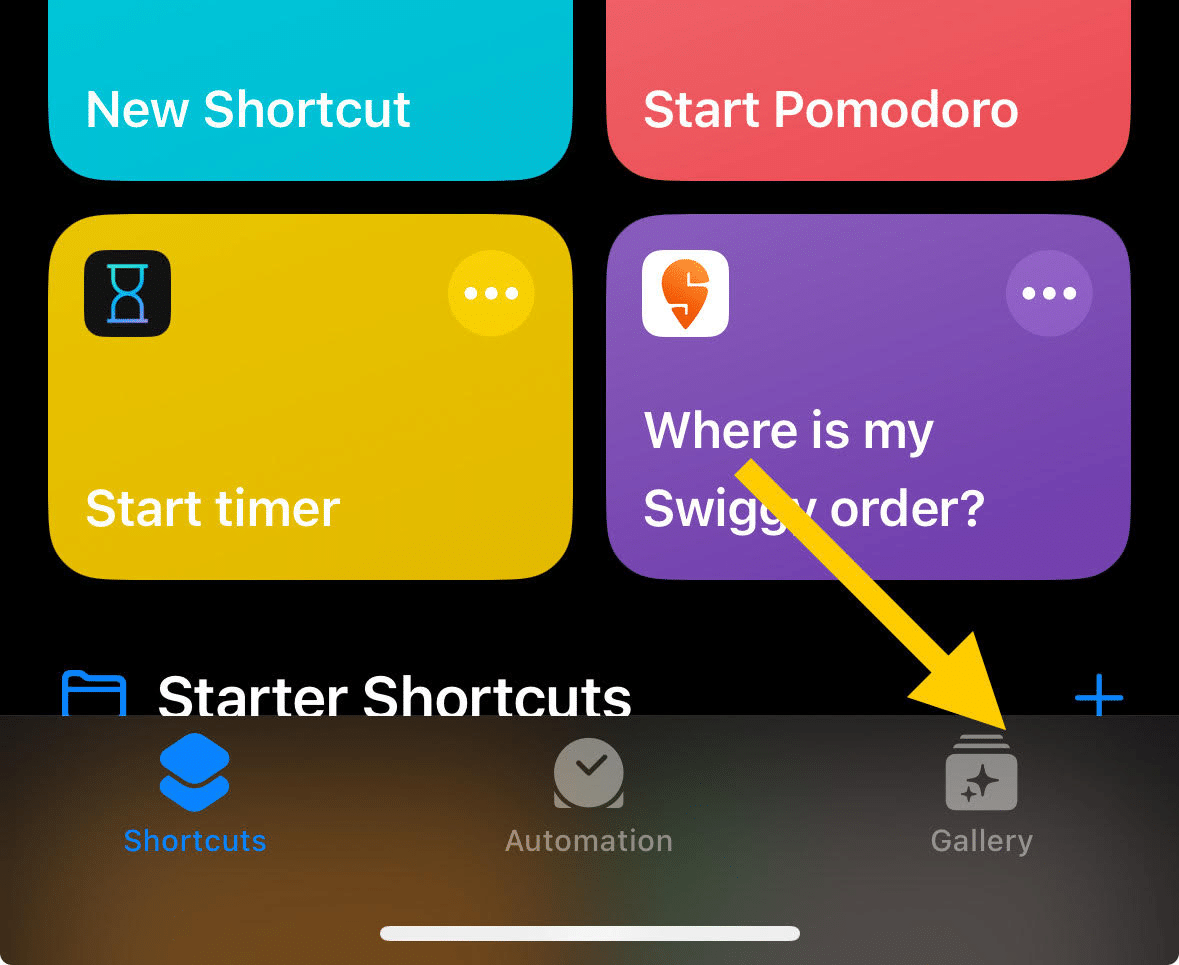
Open the Shortcuts app and navigate to the Gallery tab where a treasure trove of shortcuts awaits.
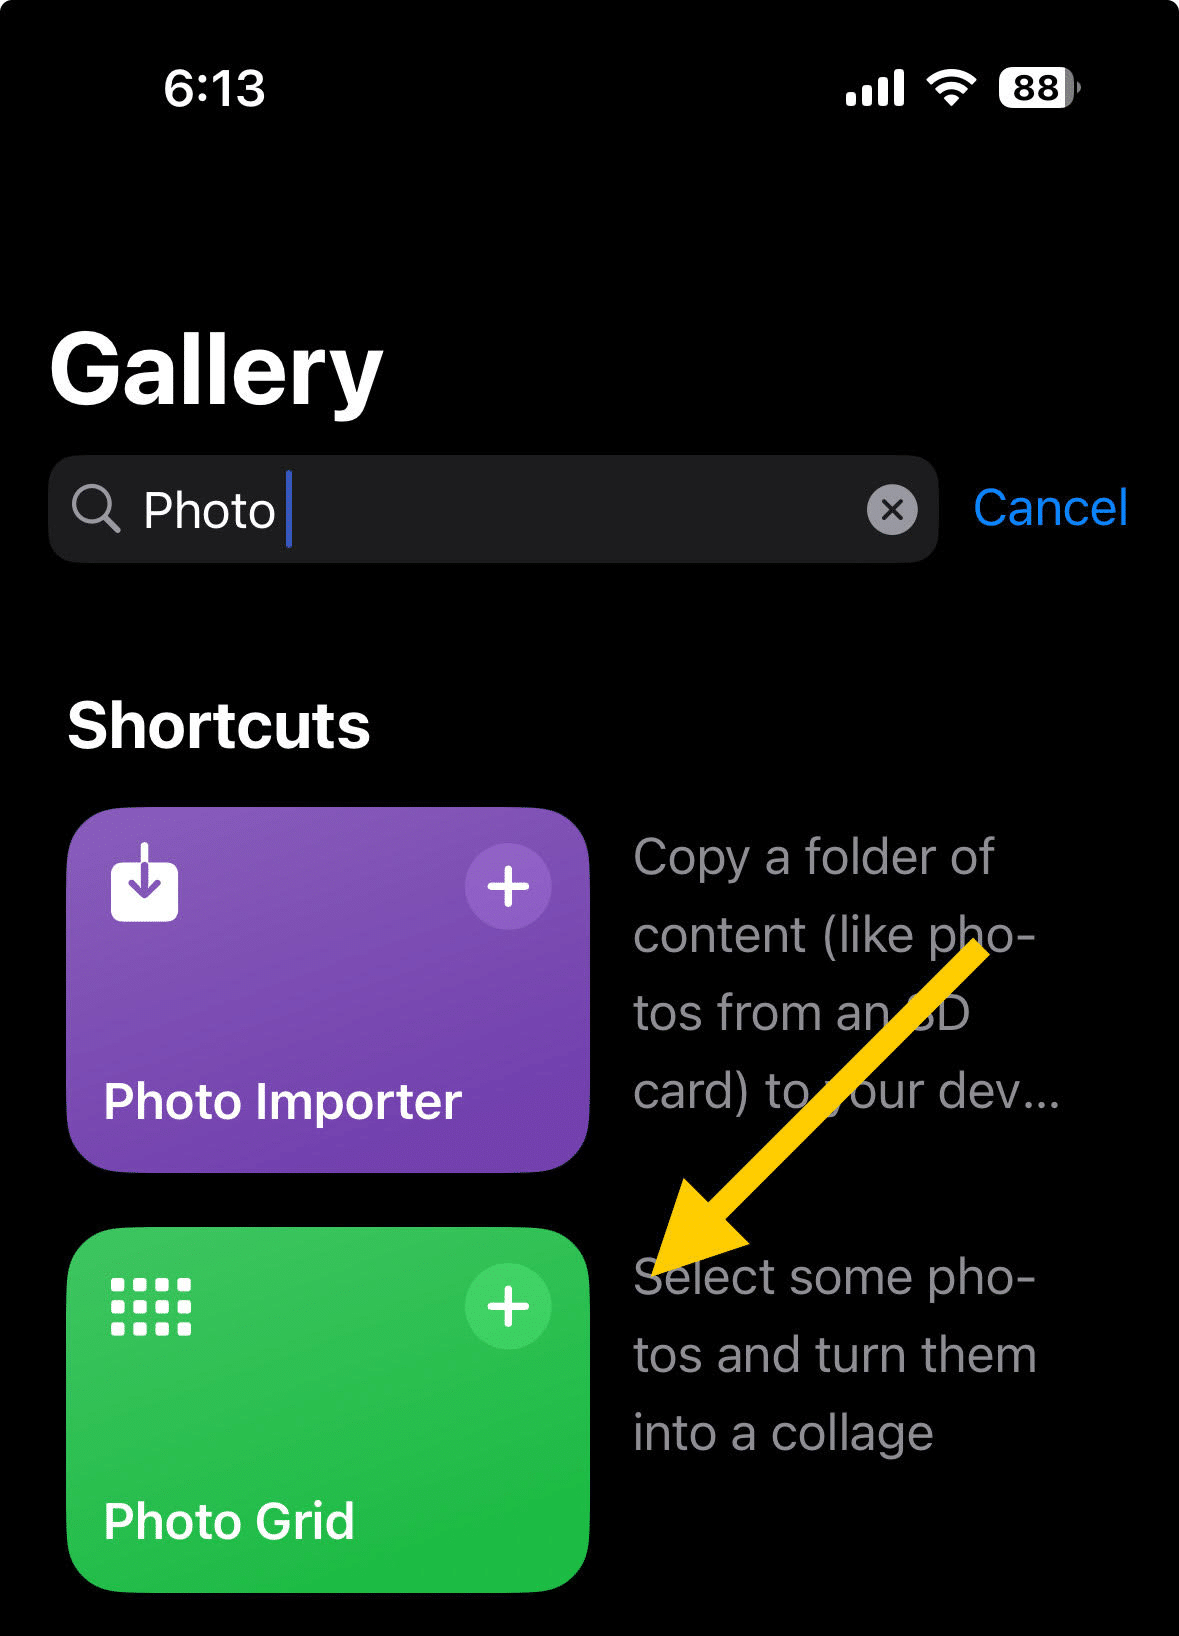
Use the search function to look for “Photo Grid”.
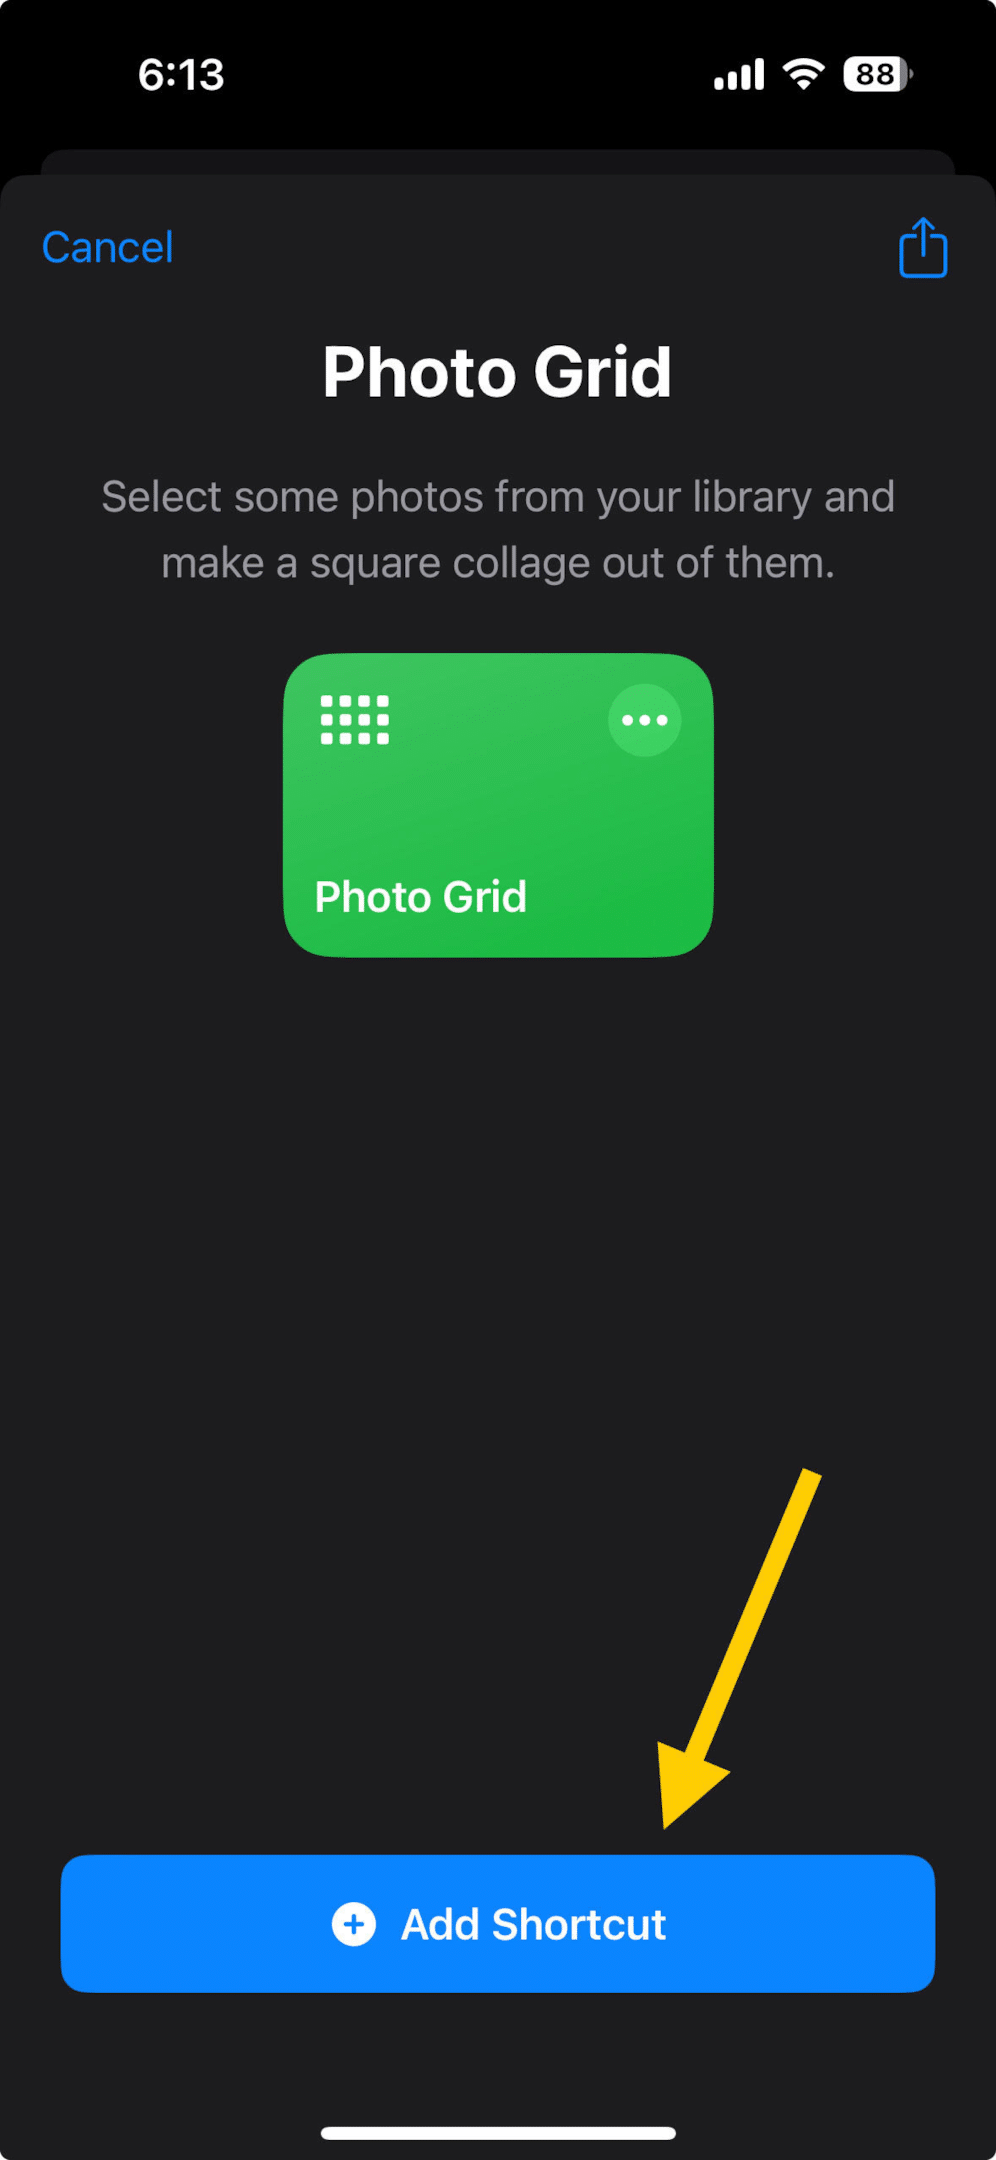
Upon finding the Photo Grid shortcut, tap on it, then choose Add Shortcut to install it on your iPhone.
Now that you have installed it, time to start making collage on your iPhone.
1.1 Running the Photo Grid Shortcut
After installing the Photo Grid shortcut, you’re just a few steps away from creating your own photo collage on your iPhone. Here’s how to use the shortcut effectively:
1.1.1 Step 1: Access the Shortcut
Navigate to the Shortcuts app on your iPhone.
Tap on the “My Shortcuts” tab at the bottom.
Locate and tap on the “Photo Grid” shortcut you added earlier.
1.1.2 Step 2: Select Your Photos
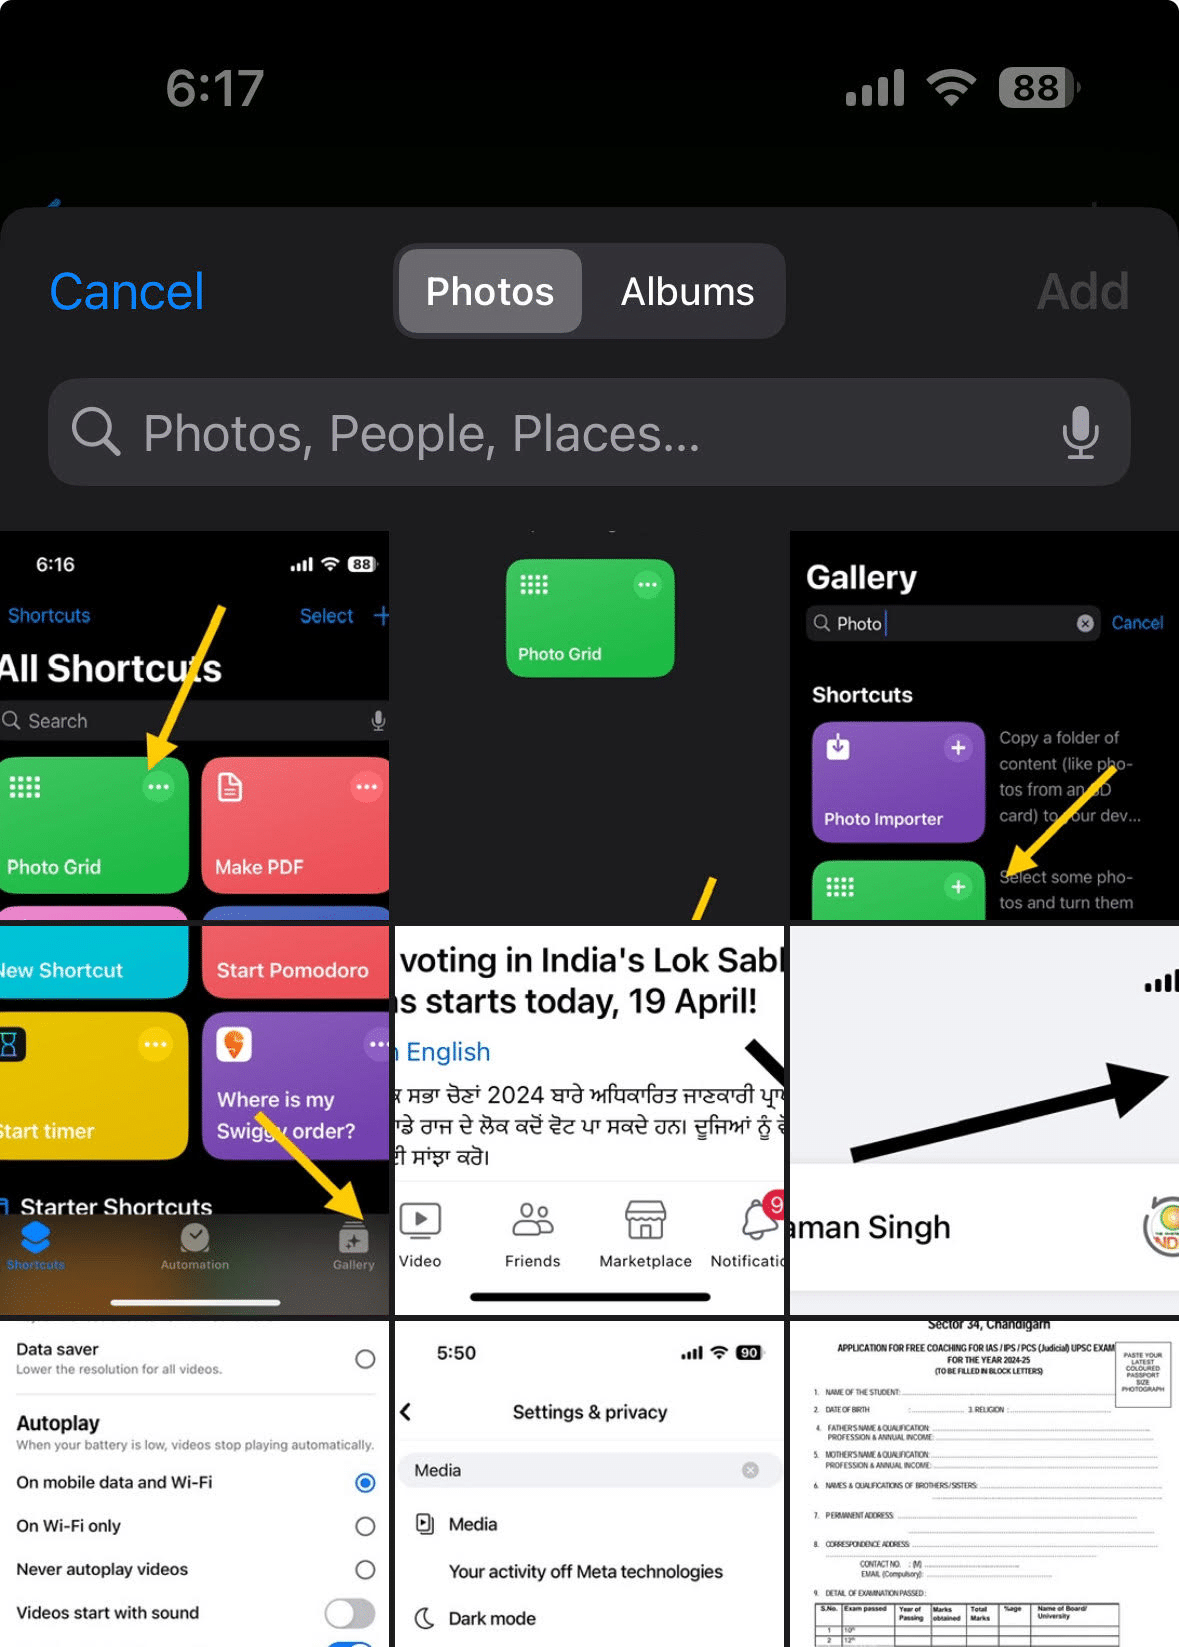
You’ll be prompted to select the photos you want to include in your collage.
Tap on each photo you wish to include. You can choose multiple photos to make your collage as rich and diverse as you’d like.
Once you’ve selected all the desired photos, tap “Add” to proceed.
1.1.3 Step 3: Wait for the Preview
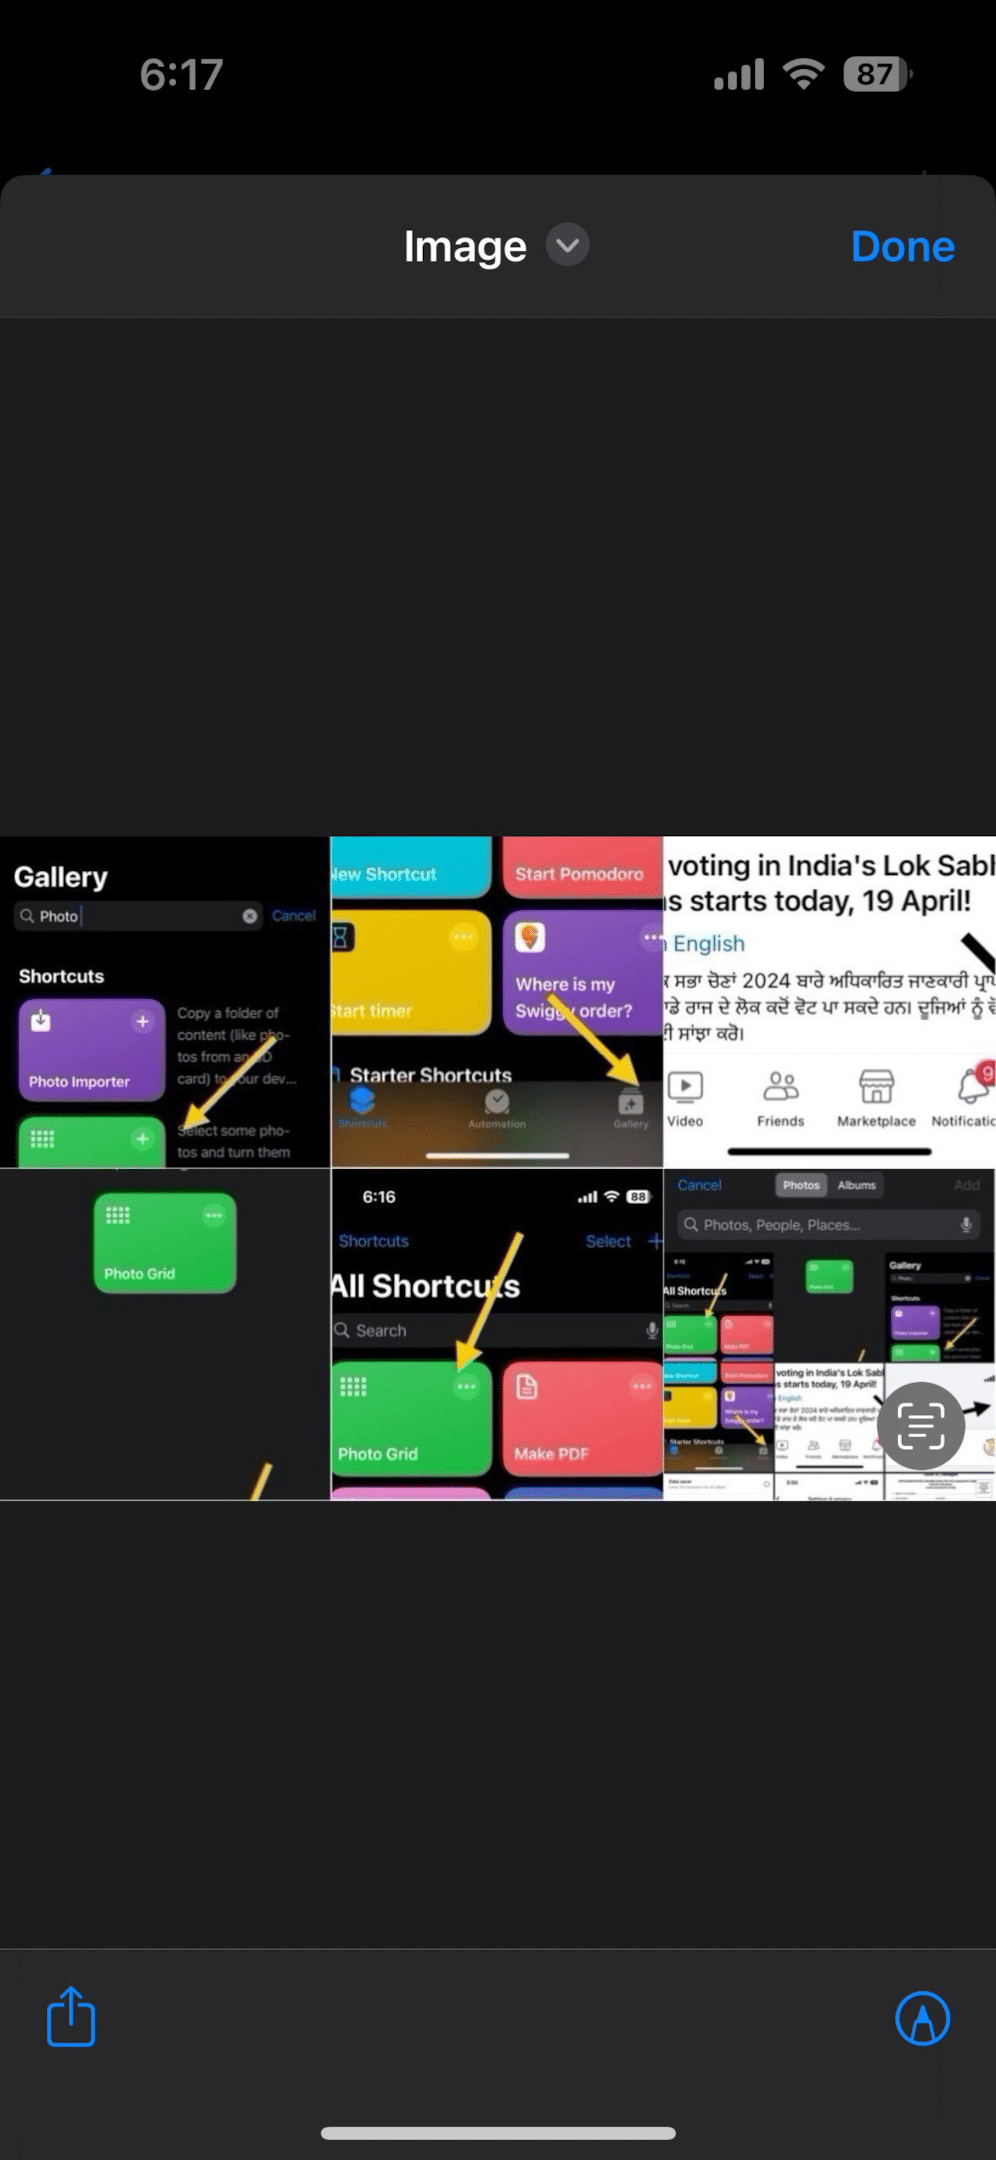
After adding your photos, give the app a few seconds to process them. It will automatically arrange photos into a custom collage, applying a default layout that best fits the selected images.
A preview of your photo collage will appear on the screen.
1.1.4 Step 4: Save Your Collage
If you’re satisfied with the preview, tap on “Image” located at the top of the screen. This will give you options for where you can save your new collage.
Choose your preferred save destination and tap to confirm.
1.1.5 Step 5: Finalize and Access Your Collage
Tap “Done” to exit the shortcut and finalize your creation.
Go to the location where you saved the collage (e.g., Camera Roll, Photos app) to view or share your newly created photo collage.
2 How to Create a Collage on iPhone Using Layout
Creating a collage on your iPhone has never been easier, especially with tools like Instagram’s Layout app. This app simplifies the collage-making process, letting you bring your photos together into beautiful collages with just a few taps.
Follow these steps to make a photo collage on your iPhone using the Layout app:
2.1 Step 1: Install and Launch the Layout App
First, download the Layout app from the App Store if it’s not already installed on your iPhone. Open the app once installed.
2.2 Step 2: Allow Layout Access to Photos
Upon launching, the app will request access to your photos. Grant permission to ensure the app can access your photo library to select pictures for your collage.
2.3 Step 3: Select Your Photos
Tap on the photos you want to include in your collage. You can choose multiple photos from your camera roll or photo library to create a custom collage.
2.4 Step 4: Choose a Layout
The app will display different collage layouts at the top of your screen. Scroll through to find the best template that fits your selected photos. Layout offers a wide range of collage templates, from simple grids to more intricate arrangements.
2.5 Step 5: Edit Your Collage
After selecting a layout, you can adjust the borders, zoom in or out of photos, and even flip or mirror images to get the exact look you want.
2.6 Step 6: Save and Share Your Collage
Once you’re satisfied with your creation, tap on “Save” located in the top-right corner of the screen.
3 Tips and Tricks for Making Stunning Photo Collages
To elevate your photo collage creation, here are five invaluable tips to make your designs distinctly captivating on your iPhone:
Pursue Consistency for Visual Harmony: A unified theme, color scheme, or stylistic approach across your collage not only enhances its aesthetic appeal but also ensures a visually cohesive artwork.
Venture into Various Layouts: The Layout app, among others, offers a plethora of collage templates. Delve into asymmetrical layouts or layered compositions to inject vibrancy and a dynamic flair into your picture collage, making each piece uniquely engaging.
Master the Art of Scale and Proportion: By adjusting the scale and cropping of images within your collage, you create an intriguing visual hierarchy and depth.
Harness the Elegance of Negative Space: Negative space, when used effectively, can significantly amplify the impact of your photos. By allowing for breathing space or opting for solid backgrounds, you draw focus to the main subjects of your collage, enhancing the overall composition.
Infuse Personality with Text and Graphics: Adding textual elements or graphics can greatly enrich the narrative or personal vibe of your collage.
Leveraging these tips will not only improve your proficiency in how to make a photo collage on iPhone but also inspire you to push the boundaries of your creativity.
Whether you’re arranging photos in the Google Photos app, exploring photo collage templates, or sharing your creations on Instagram or Facebook, remember, the goal is to convey your unique perspective and style through your collage on iPhone.
Alternatively with Google photos Installed, You can easily do it with it.
4 More iOS Resources;
- How to Use Instagram’s Story Camera Widget on iOS
- How to See Reels you watched on Facebook (iOS, Android, PC)
- How to disable Incognito Mode (For All Devices)
- How to See Reels you watched on Facebook (iOS, Android, PC)
- 3 Ways To Know Who Unfollows You on Instagram (iOS & Android)
5 Conclusion
In today’s digital age, where every moment is captured and shared, learning how to make a photo collage on your iPhone offers a unique way to tell a story or celebrate memories in a single, impactful image.
Whether it’s combining memories from a special day, crafting visuals for Instagram posts, or simply bringing together a collection of your favorite pictures, the possibilities are endless. The key to making captivating photo collages lies in consistency, creativity, and personal touch, from selecting images to arranging photos and applying filters.
With tools like the Layout app and built-in features of the Photos app, creating stunning photo collages has never been more accessible. By following the steps outlined in this guide and experimenting with different collage templates and editing features, anyone can master the art of photo collage creation.

