Home / Blog / Tutorials / Android / Try These Tricks when Google Play Store Auto-update not Working?
Try These Tricks when Google Play Store Auto-update not Working?
Choose Your Language:
Mobile devices require software and application maintenance to last longer and have less downtime, just like everything else. Android app updates provide businesses with a number of advantages. To address new vulnerabilities and threats, you can maintain your devices up to date with the most recent releases from developers.
Updates can also include bug fixes from previous versions, which enhances productivity and user experience by enhancing features or the user interface. This post will go over some typical problems with apps in the Play Store not updating as well as solutions for these problems.
1 Analyze your issues
If your Google Play Store auto update is not working, there could be several reasons for it. some of these include:
One common reason the Google Play Store auto-update feature may not be functioning is if the ‘auto-update apps’ setting is disabled on your Android Phone’s app download preference.
To rectify this, ensure that the auto-update is activated, allowing your device to download and install app updates automatically whenever they become available.
It’s worth noting that the auto-update feature could be set to work over Wi-Fi only to conserve mobile data usage. This means updates won’t download over a mobile network. However, you can adjust this preference in your settings app to enable updates over mobile data as well.
If you’ve checked these settings and the issue persists, it might be due to your phone being in power-saving mode. Power-saving mode can often restrict background data usage, including the downloading of app updates to save battery life. Disabling power-saving mode and ensuring your phone has adequate charge can help in successfully updating your apps.
2 Try these quick fixes to auto-update apps on google play store
You can easily configure the Google Play Store to auto-update your apps with these very simple steps.
2.1 Check Auto-Update Preferences in Play Store
When the Play Store seems uncooperative, not updating your apps despite a solid internet connection, it’s crucial to inspect the preferences set for auto-updating apps. Within the Play Store, you have the freedom to specify how your apps should auto-update, be it exclusively over Wi-Fi or over both Wi-Fi and mobile data, safeguarding against unnecessary data consumption.
To adjust these settings, you would:
Start by selecting the profile icon located in the top-right corner of the Play Store.
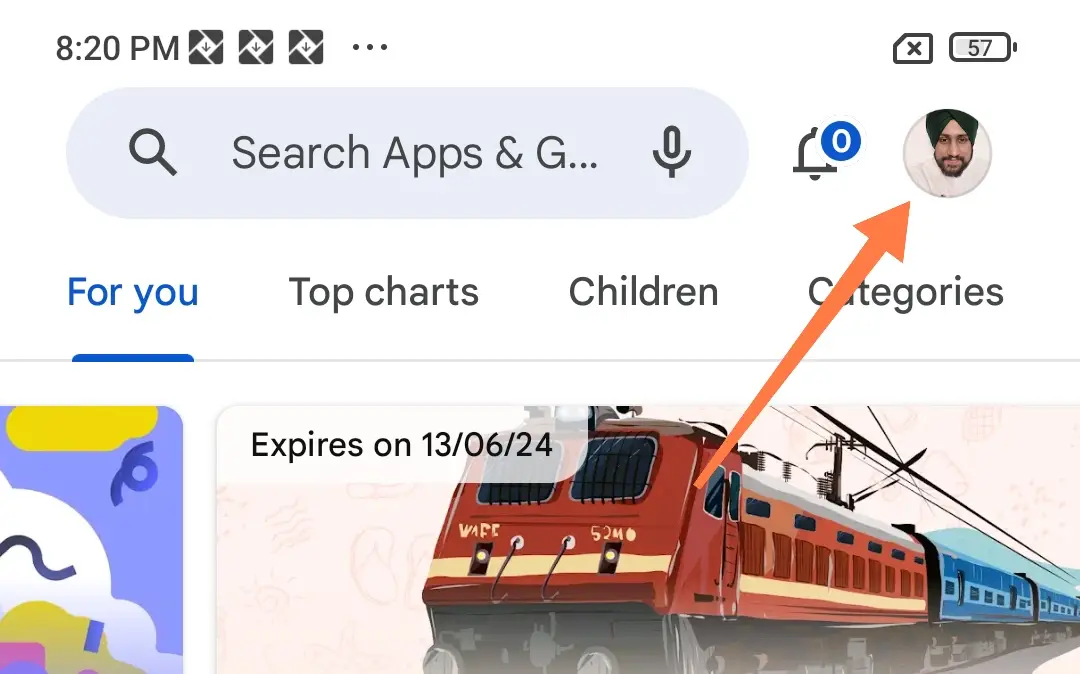
Proceed to the Settings menu.
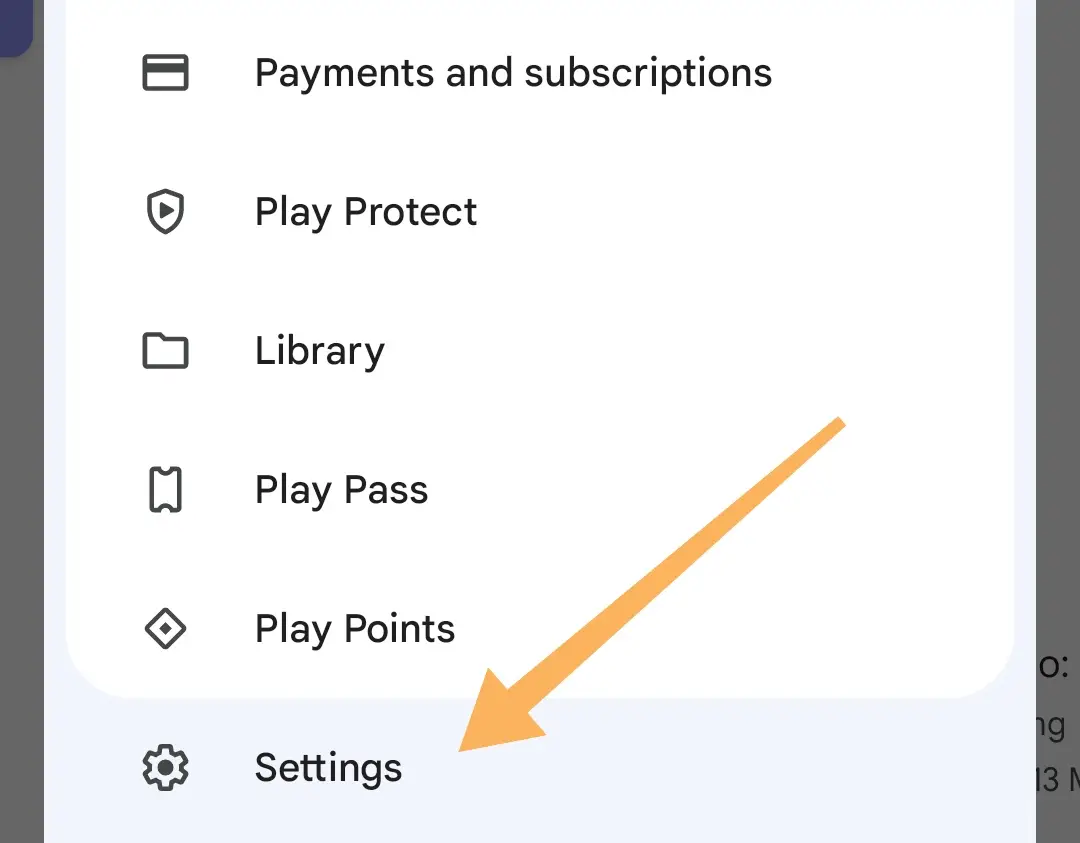
Navigate through to ‘Network preferences’ and then ‘Auto-update apps’.

Here, choose ‘Over any network’ to empower the Play Store with the ability to fetch and install updates as they roll out. Should this setting already be activated and problems persist, toggling it off, pausing for a brief moment, then switching it back on might do the trick.

Additionally, the Google Play Store extends the capability to manage auto-update settings on a per-app basis. If there’s a particular app refusing to update on its own, head over to its Play Store page.
Tap the three-dot icon in the upper right, where you’ll find the option to ‘Enable auto update,’ ensuring that the app stays current without manual intervention.

This method not only keeps your key apps up to date but supports a seamless user experience by incorporating the latest features and bug fixes, minimizing vulnerabilities on your Android device.
2.2 Enable Automatic Date and Time
Ensuring your Android device’s date and time settings are accurate is crucial for smooth synchronization with Google’s servers, which can directly impact the functionality of google play store auto updates. Incorrect settings might prevent your device from updating apps automatically.
To resolve this and enhance your phone’s ability to auto update apps seamlessly, follow these steps to allow your device to adjust its date and time automatically:
Open the Settings app on your android phone.
Look for General management and tap it, then find Date & time in the options provided.
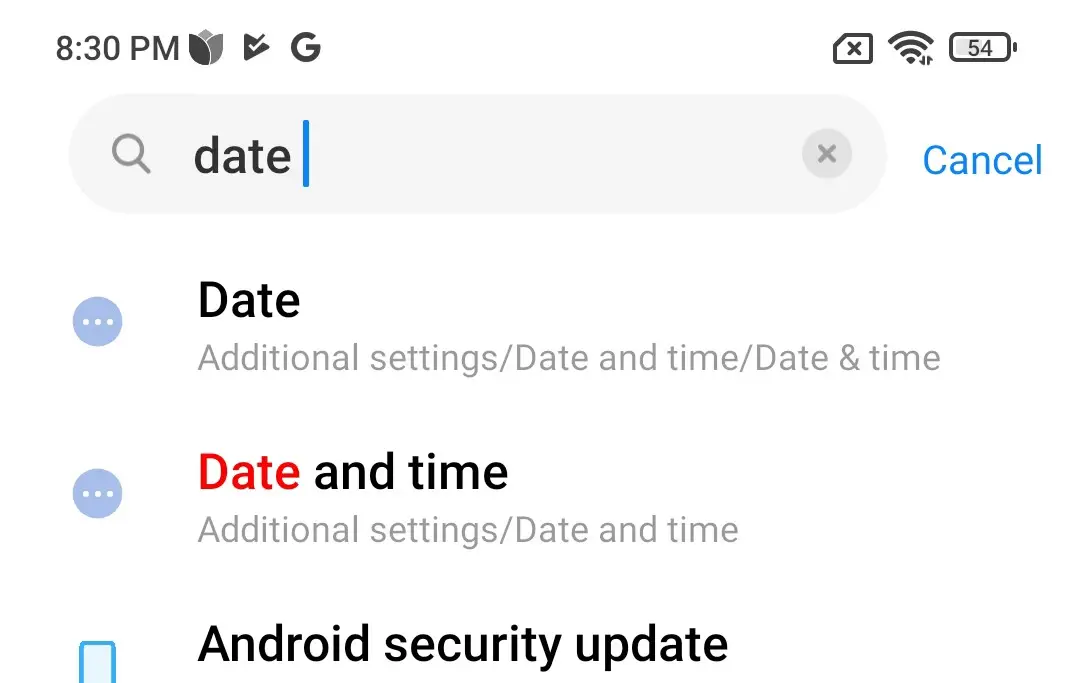
Switch on the Automatic date and time feature to enable automatic updates efficiently.

Remember, the steps to enable automatic date and time will depend on your device and android version.
2.3 Turn Off Battery Optimization for the Play Store
In scenarios where your Android device’s Play Store auto-updates aren’t functioning, one area to inspect is the app’s battery optimization settings. Android permits the management of apps’ background activity through battery optimization features, which, when applied to the Play Store, could hinder its ability to refresh apps automatically.
Granting the Play Store permission to run unrestrictedly in the background is crucial for keeping your apps updated without manual oversight. For this, the procedure is straightforward:
Long press on the Google Play Store app icon on your device and select the Info (i) icon from the pop-up menu that appears.

Within the App Info section, tap on Battery to access battery optimization options for the Play Store.

Here, you’ll find Optimized, which you should select to balance battery life with performance or consider configuring it to allow unrestricted background activity.

Alternatively, for a more direct approach:
Go to the Settings app on your Android device.
Navigate to Apps > Google Play Store to find these setting options

Additionally, it’s advisable to disable the power saving mode on your device if it’s activated.
2.4 Clear the Play Store Cache
Just like any application, the Google Play Store leverages cache to enhance loading speeds and refine your usage experience. Nevertheless, an overabundance of cached data can negatively impact the app’s efficiency.
If you’re encountering issues where the Play Store isn’t pushing update notifications or failing to update apps automatically despite having the auto-update feature activated, clearing the cache might be a beneficial step.
To purge the Play Store’s cache, here are the steps to follow:
Long-press the Google Play Store app icon on your Android phone and select the Info (i) icon from the menu that pops up.
Tap on Storage.

Choose the Clear cache option situated at the bottom-right corner.

This process can effectively address issues related to Google Play Store auto updates not working, ensuring that your apps remain up-to-date with the latest versions, bug fixes, and new features without manual intervention.

Clearing the cache is a simple yet powerful fix that can restore the Play Store’s ability to automatically update apps, enhancing your device’s performance and security.
By maintaining clean cache data, the Play Store operates more efficiently, potentially solving problems related to app updates, downloading new apps, or refreshing the app’s interface.
2.5 Uninstall and reinstall updates
If all previous attempts to resolve the Google Play Store auto update not working issue fail, it might be time to focus on the Play Store app itself. Given that the Google Play Store plays a fundamental role in the Android ecosystem, removing it entirely from your device isn’t an option.
However, a viable workaround involves uninstalling its updates. This step can serve as a reset, potentially fixing auto-update glitches by restoring the app to its factory version.
To proceed, long-press the Google Play Store app icon on your Android device’s screen. When the options appear, tap on the Info (i) icon.
Look for the three dots in the upper right corner of the screen and select “Uninstall updates.”
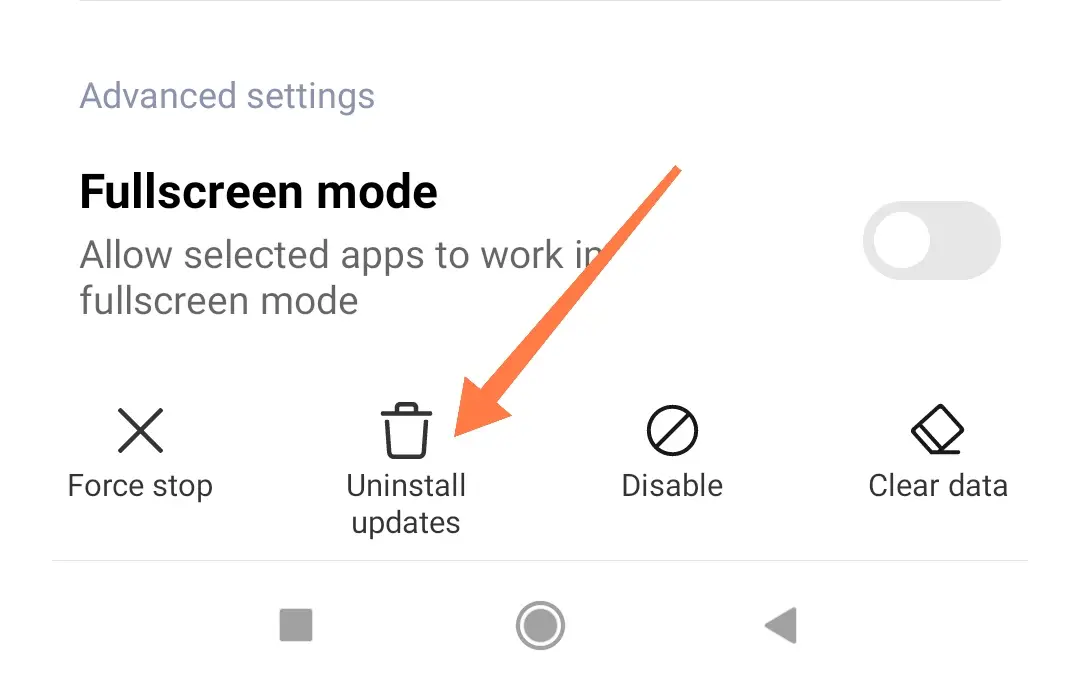
Confirm your choice by tapping OK.
Restarting the Google Play Store subsequent to these steps initiates the reinstallation of the updates you removed. This could be the key to resolving issues surrounding apps not updating automatically, allowing you to enjoy the latest app version, complete with new features and essential bug fixes, without further ado.
2.6 Free up storage space
A lack of sufficient storage space on your device could also thwart the workings of the Google Play Store’s auto-update feature.
Android phones typically alert users about low storage space; however, you can proactively check this by navigating through Settings > General management > Storage.
To counteract this, consider removing apps you no longer use or deleting unnecessary files, thereby freeing up valuable storage space on your phone.
Additionally, exploring alternative methods to increase your storage capacity can ensure your device continues to efficiently manage app updates.
2.7 Sign out and back into your playstore
At times, issues linked with your Google account might be the culprit behind the Google Play Store’s auto-update features not working as expected.
A solution to explore is to temporarily remove your Google account from your device and then add it again. This process can often clear up any blockades preventing your apps from updating automatically.
To kick this off, follow these steps:
Navigate to the Settings app on your smartphone.
Head over to Accounts and backup > Manage accounts. Here, select your Google account from the list provided.

Press the Remove account option, then tap on Remove account once more to confirm your action.
After successfully removing your account, give your device a quick restart. Once it’s back on, go ahead and re-add your Google account.
This method aims to refresh your Google Play services and play store app settings, possibly resolving issues preventing apps from updating automatically over wifi or your mobile data network.
2.8 Check for Android updates
If your Android device isn’t equipped with the latest Android OS update, this could be a stumbling block preventing your Google Play Store from proficiently keeping your apps up to date. Software updates not only iron out existing glitches but also contribute to the overall efficiency and stability of your device.
Ensuring your Android phone is running on the most recent version is crucial for optimizing the functionality of the auto-update feature in the Google Play Store. To check and install any available Android updates, head into the “Settings” app on your phone, tap on “Software update,” and then select “Download and install.”
3 Conclusion
Resetting your Android phone to factory default is your only choice if none of the above fixes work. By doing this, you can reset your smartphone to its factory settings and wipe it clean.
This removes all of the device’s data and is a tedious process. On the other hand, it resets your phone, which can fix any software problems you might be having as well as automated app upgrades.
It’s crucial to know that sideloaded apps on your phone won’t get updates from the Play Store automatically.

