How to Serve Images in Next-Gen Formats (4 Fixes)
Choose Your Language:
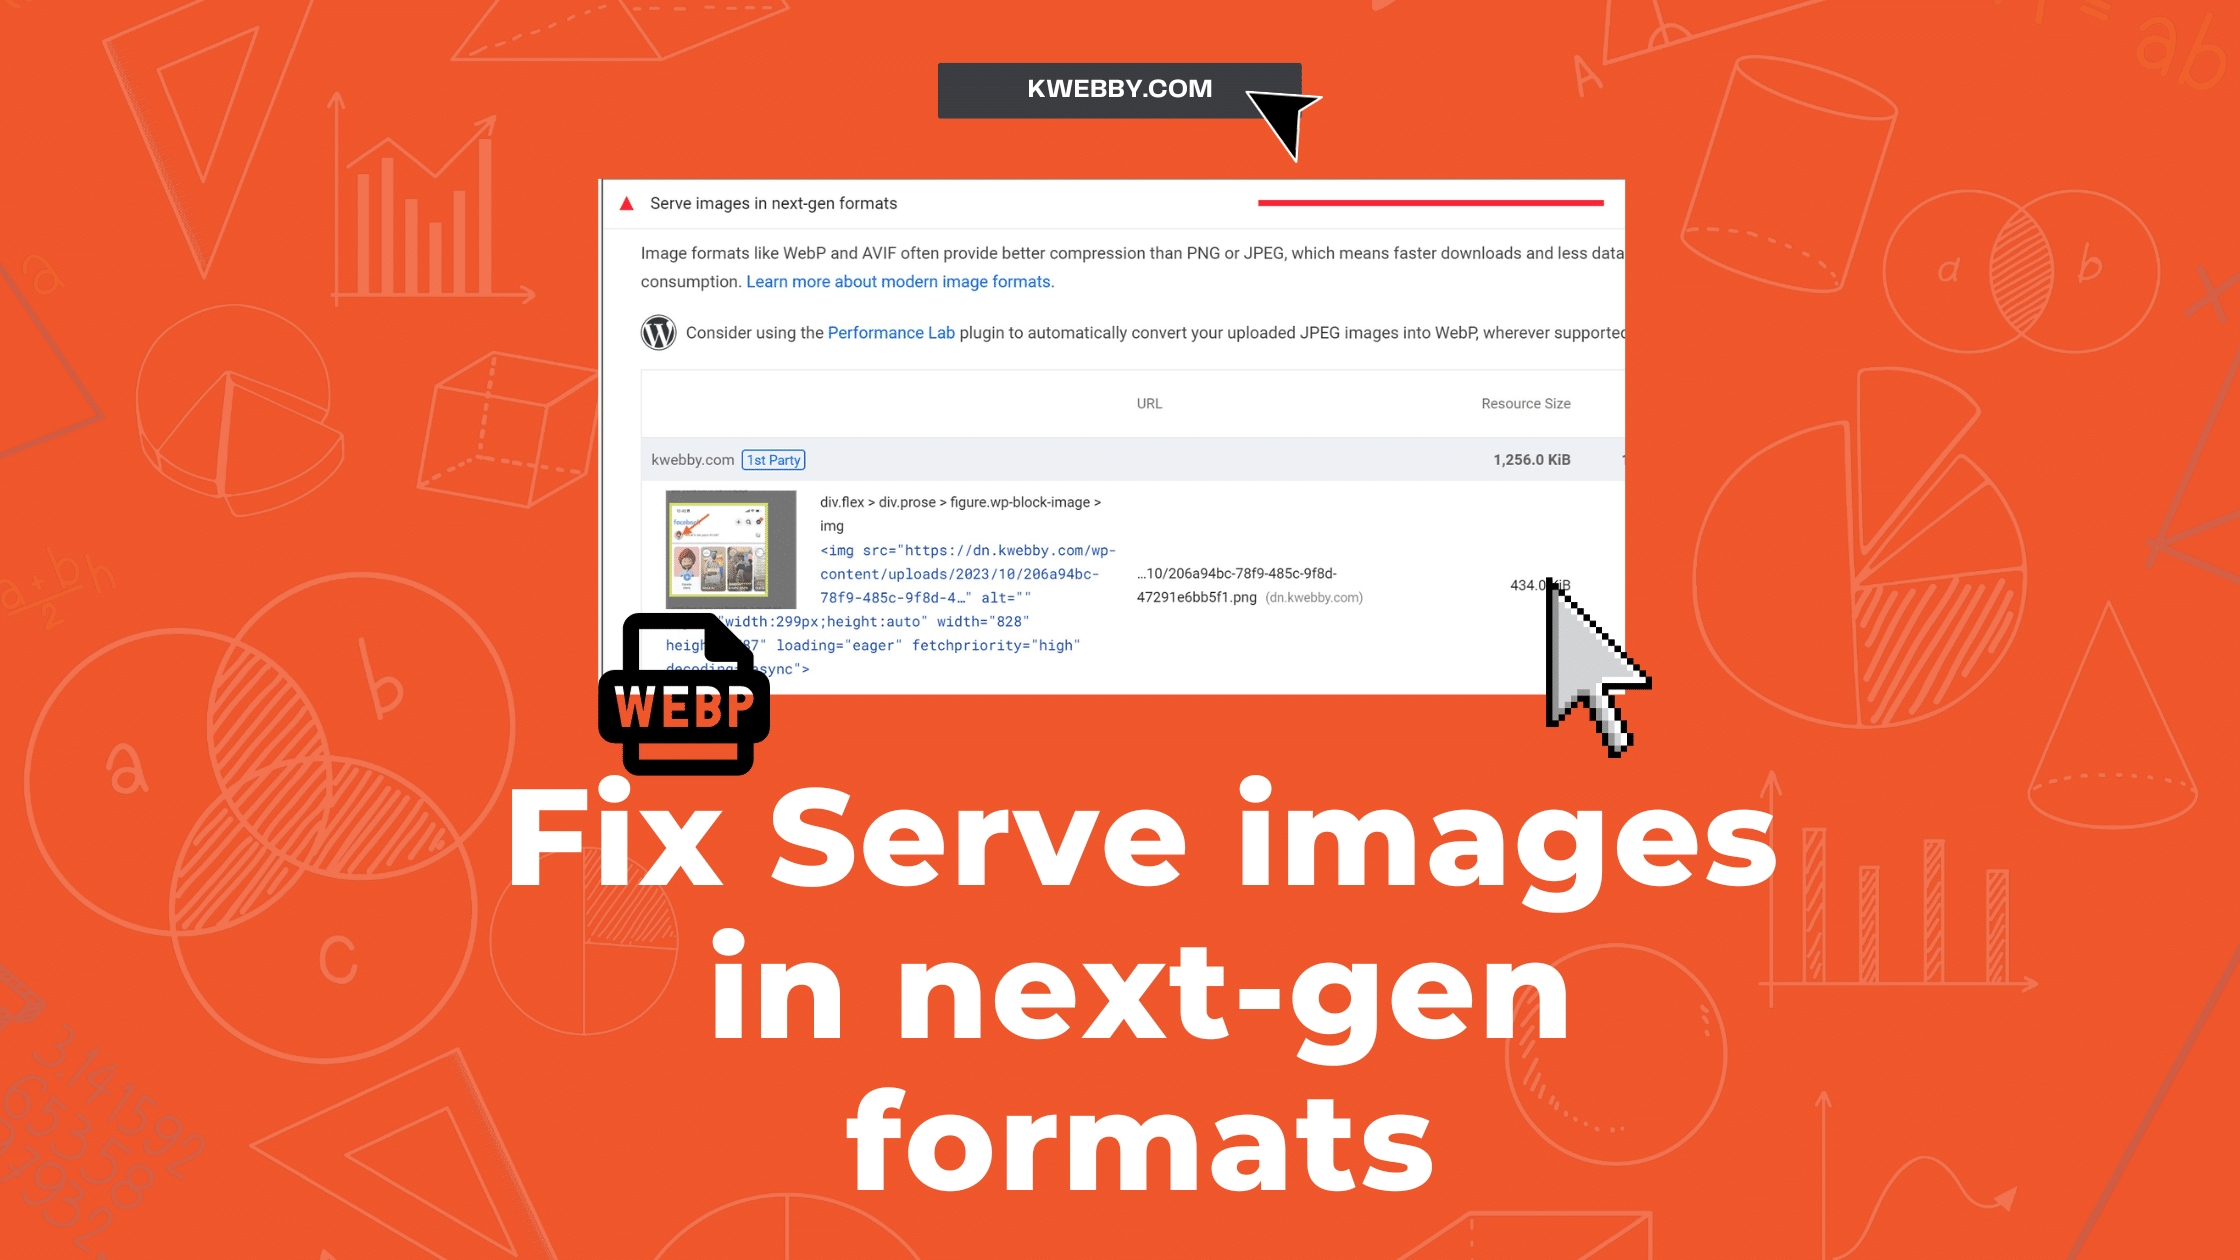
In the realm of web performance optimization, serving images in Next-Gen formats is a prominent solution for accelerating page load times and enhancing user experience. Google PageSpeed Insights or Lighthouse often flags “Serve images in next-gen formats” as a common issue affecting page speed performance.
This guide is designed to demystify the concept of Next-Gen image formats, outlining stepwise instructions on how to convert and serve these modern formats. Embracing these techniques will not only optimize your PageSpeed Insights score but also significantly improve your website’s overall performance.
Also checkout ;- What is Google Core Web Vitals? Step-by-step Guide to Improve it
1 What are Next-Gen Image Formats?
Next-gen image formats refer to modern file formats that offer superior compression and better Image quality over traditional image formats like JPEG, PNG, and GIF Images.
These Next gen formats include WebP and AVIF images which offers Lossy and lossless compression and they are often called as Web Picture formats by Google.
You can read about WEBP Compression techniques in detail here.
WEBP and AVIF are modern Image formats for the Web and They use more efficient encoding methods to reduce file sizes while maintaining high visual quality. This results in faster image loading and improved visual appeal for users even for Animated Images like GIFs.
2 Why are Next-Gen Image Formats Important?

Images Served in Next-gen image formats play a crucial role in website performance, particularly regarding the web page speed at which a site loads and responds to user interactions. The speed of a website is often determined by factors such as the load times of content and the server’s response to browser requests.
As reports states that over 55% traffic comes from mobile devices on websites and over 92%+ uses Mobile devices to browse internet, therefore, speed is everything, serving images in smaller image files with same quality of existing images in next gen formats like WEBP is the only solution for webmasters.
A pivotal aspect of this speed equation lies in the balance between image size and quality. Often, you may find yourself in a predicament;
using high-quality images with large file sizes can lead to poor page load times while opting for low-quality images with smaller file sizes can result in faster load times but a diminished user experience due to inferior visual quality.
Next-gen image formats help alleviate this problem by offering the best of both worlds;
superior image quality and smaller file sizes, thanks to advanced compression technology.
This is why Google’s PageSpeed Insights tool often recommends using Next-Gen formats, as they significantly enhance your website’s overall performance and user experience.
3 Browser Compatibility: WebP vs AVIF
When considering the adoption of next-gen image formats for your website, it’s crucial to understand the browsers support to accept WEBp images.
3.1 WebP
WebP, a pioneer in the field of next-gen image formats, boasts wide-ranging browser support. Whether your users are on Google Chrome, Mozilla Firefox, Opera, Safari, or Microsoft Edge, you can rest assured knowing that WebP images will load seamlessly, ensuring a visually rich and fast website experience.
3.2 AVIF
On the other hand, AVIF, though powerful in its compression and quality capabilities, is yet to achieve comprehensive browser compatibility. As of now, it doesn’t have support in Safari and Microsoft Edge. This means if your website audience predominantly uses these browsers, you might want to hold off on using AVIF until more extensive support is rolled out.
4 Solution #1 – Convert Your Images using WEBP Converter
To convert images to Next Gen Images like WEBP images, There are many WEBP Converters available and you browse the list from Google itself here, but we will use the AnyWEBP tool which offers both Online as well as desktop tools for WEBP conversion in Lossless compression.
4.1 Using Online Converters
Online converters like AnyWebP offer a simple and efficient way to convert your traditional format images into the WebP format. Their user-friendly interface requires no technical expertise—simply upload your JPEG, PNG, or GIF files and let the tool do the work.
To convert images to Lossy WeBP images go to the AnywebP tool here and drop your image files;

After successful upload, in the next window, Select Output Image File format to WEBP, select lower file size to 0.6 and Choose 0.9 as Quality for WebP Lossless images.

When you’re ready, click on “Convert All Images” to convert your images to WEBP image formats.

Now, download images and upload WEBP Images to your website to fix the Lighthouse issue.
In a matter of seconds, your images are transformed into the superior WebP format, ready for download and integration into your website.
This process not only enhances your site’s load times and overall performance but also improves your PageSpeed Insights score.
4.2 Using App for Windows/Mac
For users seeking a more permanent solution, consider downloading the AnyWebP app. Available for both Windows and Mac, this handy tool allows you to convert images right from your desktop, eliminating the need to visit the website each time.
Process for converting images to WEBP is pretty simple, select or drop your file and click on convert;

The app maintains the same user-friendly interface and high-speed conversion as the online version, offering a quick and reliable solution for frequent use. By integrating this app into your web optimization workflow, you’re investing in a tool that ensures your images always meet the highest standards of performance and quality.
5 Solution #2 – Use Performance Lab Plugin by WordPress
For WordPress Images and users, the Performance Lab plugin is an indispensable tool for optimizing website performance and make WEBP Conversion super easy from any image types.
One of its most powerful features is its ability to automatically convert JPEG uploads into the far superior Next Gen Format i.e. WebP. This functionality is enabled by default and can significantly enhance your website’s load times, delivering a smoother and more enjoyable user experience.
To ensure this module is active, navigate to the performance settings under Settings > Performance in your WordPress dashboard. If the Enable WebP Uploads module is checked, you’re all set!

Wondering if your server supports WebP format?
The Performance Lab plugin has you covered. This plugin includes a health check to verify whether or not your server supports the WebP format. You can enable this module in the performance settings and follow the steps to check your server support.
Now, isn’t that seamless and efficient?
By simply integrating the Performance Lab plugin into your WordPress site, you can significantly enhance your website’s performance, user experience, and overall PageSpeed Insights score. So, why wait?
Give your website the boost it deserves with this free WEBP Conversion plugin to convert any Image File format to modern Image format i.e. WEBP. It’s great way for optimizing images from same image formats Image quality using Lossless Compression or use WebP lossy images option to convert a doip in image quality but it’s far better than other image formats (JPEG Image) for web.
6 Solution #3 – Serve WEBP using Cloudflare
Cloudflare offers a unique feature called “Polish” that allows you to optimize your images for better website performance. But how does this work?
To activate Polish, first, ensure your images in the cache are purged or expired. Now, it’s important to note here that you should not activate Polish and Image Resizing simultaneously. Why? Because Image Resizing already applies lossy compression, which makes Polish redundant.
To begin the activation process, log in to your Cloudflare dashboard and select the account and domain where you want the feature. Navigate to Speed > Optimization > Image Optimization;

Under ‘Polish‘, you will find a drop-down menu where you can select either ‘Lossy‘ or ‘Lossless‘.
Want to further optimize your PNG and JPEG images stored in the origin server?
Consider enabling the ‘WebP‘ option. This will allow you to serve them as WebP files to browsers that support this format.
But remember, to ensure WebP is not served from the cache to a browser without WebP support, you need to disable WebP at your origin web server when using Polish.
This straightforward activation process enhances image loading times, providing a superior user experience, and improving your site’s performance. Isn’t it time you give your website the speed it deserves with Cloudflare’s Polish feature?
7 Solution #4 Other WordPress Plugins
7.1 Imagify
With Imagify, you have another powerful WordPress plugin to convert your images to WebP format. Imagify stands out for its user-friendly interface and its ability to maintain high-quality images even after compression—a feature crucial for any website looking to improve its performance without compromising on visual appeal.
Here is how to employ Imagify on your WordPress site:
Begin by downloading and installing the Imagify plugin. Once installed, activate the plugin, and remember to create your free API key. This step is crucial, as the API key connects your site to Imagify, enabling the plugin to work its magic on your images.

Now, navigate to Settings > Imagify. Here, you will find the Optimization tab—this is where you can control how Imagify interacts with your images.

In the Optimization settings, make sure to select the following options:

Create WebP version of images, Enable this option to activate the next.
The next option is to Display images in WebP format on the site, There’s two option i.e. Use Rewrite rules (edits .htaccess file or Nginx Config file) for WEBP replacement Image or Use <picture> tags. We recommend you to use Picture element tags to serve images in next-gen formats like WEBP.
Selecting these options instructs Imagify to create a WebP version of your uploaded images, display these versions on your site, and use the <picture> tag format, which allows multiple sources for an image to be specified.
Alternatively, You can also use Imagify Resize larger images to Properly size images to support webp images responsivness across various devices.

By integrating Imagify into your WordPress site, you’re not only improving the performance and load times of your website but also ensuring that your images remain crisp and visually appealing. So why wait? Experience the benefits of Imagify today!
7.2 WebP Converter for Media
WebP Converter for Media is a powerful WordPress plugin that transforms the way your website manages images. It efficiently optimizes your images, serving WebP and AVIF formats (available in the Pro version) instead of the traditional ones. This shift results not only in faster load times but also in improved performance across your website.
Here’s how you can integrate this impressive plugin into your WordPress site:
Start by installing the WebP Converter for Media plugin. This is your first step towards enhanced image optimization.
Once installed, make your way to `General Settings > Conversion strategy > List of supported output formats and select the “WebP” option.

Next, scroll to the bottom of the options page and click on the Start Bulk Optimization button. Your images will now begin their transformation to the WebP format.

With WebP Converter for Media, you’re investing in a tool that significantly enhances your site’s performance, user experience, and overall appeal.
So, isn’t it time you gave your site’s images the optimization they deserve?
Start using WebP Converter for Media today!
Also read,
How to Optimize Images for SEO In WordPress (Only Guide You Need!)
How to use CSS Image Sprites To Reduce HTTP Requests and Increase Pagespeed
How to Lazyload Images, Videos and Iframes
Why do eCommerce SEO experts use Image alt tags? (4 Solid Reasons)
Google Images SEO : Best Practices
8 Conclusion
As you can see, there are several ways to serve WebP images on your WordPress site. Whether it’s through plugins like Performance Lab or Imagify, or by utilizing features on your server or through a CDN like Cloudflare, the benefits of using WebP cannot be ignored.
So why not take the first step towards improving your website’s performance and user experience by serving WebP images today?
With these solutions, it’s never been easier to implement this powerful image format and reap its rewards.


